5. Installation of DIMS Components Using Virtual Machines
This section describes installation of servers, developer workstations, or collector devices using virtual machines. Installation of DIMS component systems on “bare-metal” is covered in Section Installation of DIMS Components on “Bare-metal”.
5.1. DIMS on Virtual Machines
A local deployment of the DIMS system installed on virtual machines includes the following systems:
- red.devops.local (Ubuntu Trusty)
- yellow.devops.local (Debian Jessie)
- blue16.devops.local (Ubuntu Xenial)
- core-01.devops.local (CoreOS 1164.1.0)
- core-02.devops.local (CoreOS 1164.1.0)
- core-03.devops.local (CoreOS 1164.1.0)
This list will be updated as the group changes.
The following services and configurations are currently installed on some or all of the machines:
- Basic DIMS configurations (environment variables, directories, etc)
- Basic DIMS utilities
- A DIMS-specific python virtual environment
- DNS
- Postfix
- Docker
- Consul
- Swarm
- Postgres
- Nginx
- Trident
- Vagrant
- Pycharm
- Byobu
This list will be updated as more services and configruations are added.
5.2. Prerequisites for Instantiating Virtual Machines
You must have a centralized place to organize all the VMs. Scripts used
in the build process depend on this place being rooted at /vm. To
most easily structure this, and run into the least trouble with the
build scripts, run the Vagrant role against the machine you will
be instantiating the VMs on.
Once you’ve done that, you should end up with a structure that looks like the following:
[dimsenv] mboggess@dimsdev2:ims/nas/private/files/vagrants () $ tree -L 2 /vm
/vm
├── box
│   ├── coreos
│   └── red
├── cache
│   ├── apt
│   ├── coreos_production_vagrant.box
│   ├── debian-7.11.0-amd64-netinst.iso
│   ├── debian-8.5.0-amd64-netinst.iso
│   ├── sources
│   ├── ubuntu-14.04.4-desktop-amd64.iso
│   ├── ubuntu-14.04.4-server-amd64.iso
│   └── ubuntu-16.04.1-server-amd64.iso
├── ovf
│   └── red
├── run
│   ├── core-01
│   ├── core-02
│   ├── core-03
│   └── red
├── sources
└── vbox
As artifacts are made for the VMs (.box files, .ovf files, etc) they get placed into the appropriate folder. Some other files though you need to make sure you have before starting the build workflow. This includes any iso files for building the beefier Debian OSes or the CoreOS box files. We have gathered the isos on the $NAS, so you need access to it in order to retrieve these files.
- Ubuntu 14.04.4 server iso download: $NAS/share/isos/ubuntu-14.04.4-server-amd64.iso
- Ubuntu 14.04.4 desktop iso download: $NAS/share/isos/ubuntu-14.04.4-desktop-amd64.iso
- Ubuntu 16.04.1 server iso download: $NAS/share/isos/ubuntu-16.04.1-server-amd64.iso
- Debian Jessie 8.6.0 iso download: $NAS/share/isos/debian-8.5.0-amd64-netinst.iso
- CoreOS 1164.1.0 box file download: $NAS/share/boxes/coreos_production_vagrant.box
You can download most of these files from the web, but we did make some changes to the Ubuntu 16.04.1 server iso itself, so you really need the iso from the NAS.
Then you need to set up your /vm/cache/sources directory. Since this is for a local
deployment, the /vm/cache/sources directory acts as the central artifacts server
location.
These are the files you need:
[dimsenv] mboggess@dimsdev2:/vm/cache/sources () $ tree
.
├── dims-ci-utils-develop.tgz
├── prisem-rpc-0.5.10.tar.gz
├── Python-2.7.12.tgz
├── python-dimscli-0.8.0.tar.gz
├── trident-cli_1.3.8_amd64.deb
└── trident-server_1.3.8_amd64.deb

0 directories, 11 files
To get these files you must download them from the artifacts server
at jenkins.devops.develop in the /data/src directory. You
can run wget or curl or scp to retrieve those files.
Ensure they are stored at /vm/cache/sources.
Finally, you need access to the $NAS so you have access to the
SSH keys used to access the VMs. Just make sure the $NAS is up
before starting the process (run dims.nas.mount).
5.3. VM Build Workflow
Once all of the prerequisite structure and artifacts are in place,
you can begin to build the VMs. You need to have access to the
dims-packer and ansible-playbooks repos.
Note
Soon there should be a way to build these things using the
develop branch on both of those repos. Currently, however,
the major updates to the build workflow have been made on
the dims-packer branch called feature/dims-760. Once
that branch is merged, only specific feature updates will
be on any branch; stable code for building the VMs will
be available on the develop branch.
These instructions do not indicate branches as work should
be done from the develop branch and will be able to be
done from the develop branch soon.
Follow these steps to build the 3 CoreOS VMs and the 3 Debian VMs.
If you have the byobu program, get a new window (F2) and change directories to
$GIT/dims-packer.Make sure you have an updated repo (
git hf update && git hf pull).Build the artifacts for the VMs by running
for node in core-01 core-02 core-03 red yellow blue16;
      do test.vagrant.factory build $node.devops.local;
    done
This will build the CoreOS nodes first, which is nice because they build really fast, so you can move on to getting those machines booted and provisioned, while you’re waiting for the beefier VM artifacts to build.
Once you’ve made it through the CoreOS VM builds, but are still waiting on red, yellow, and blue16, you can start to provision the CoreOS nodes. Get a new byobu window and split it into thirds, vertically (Ctrl-Shift-F2)
In each of the splits, you’ll change directories to one of the CoreOS VM’s run directories. So
cd /vm/run/core-01in the left split,cd /vm/run/core-02in the middle split,cd /vm/run/core-03in the right split. You should have something that looks like this: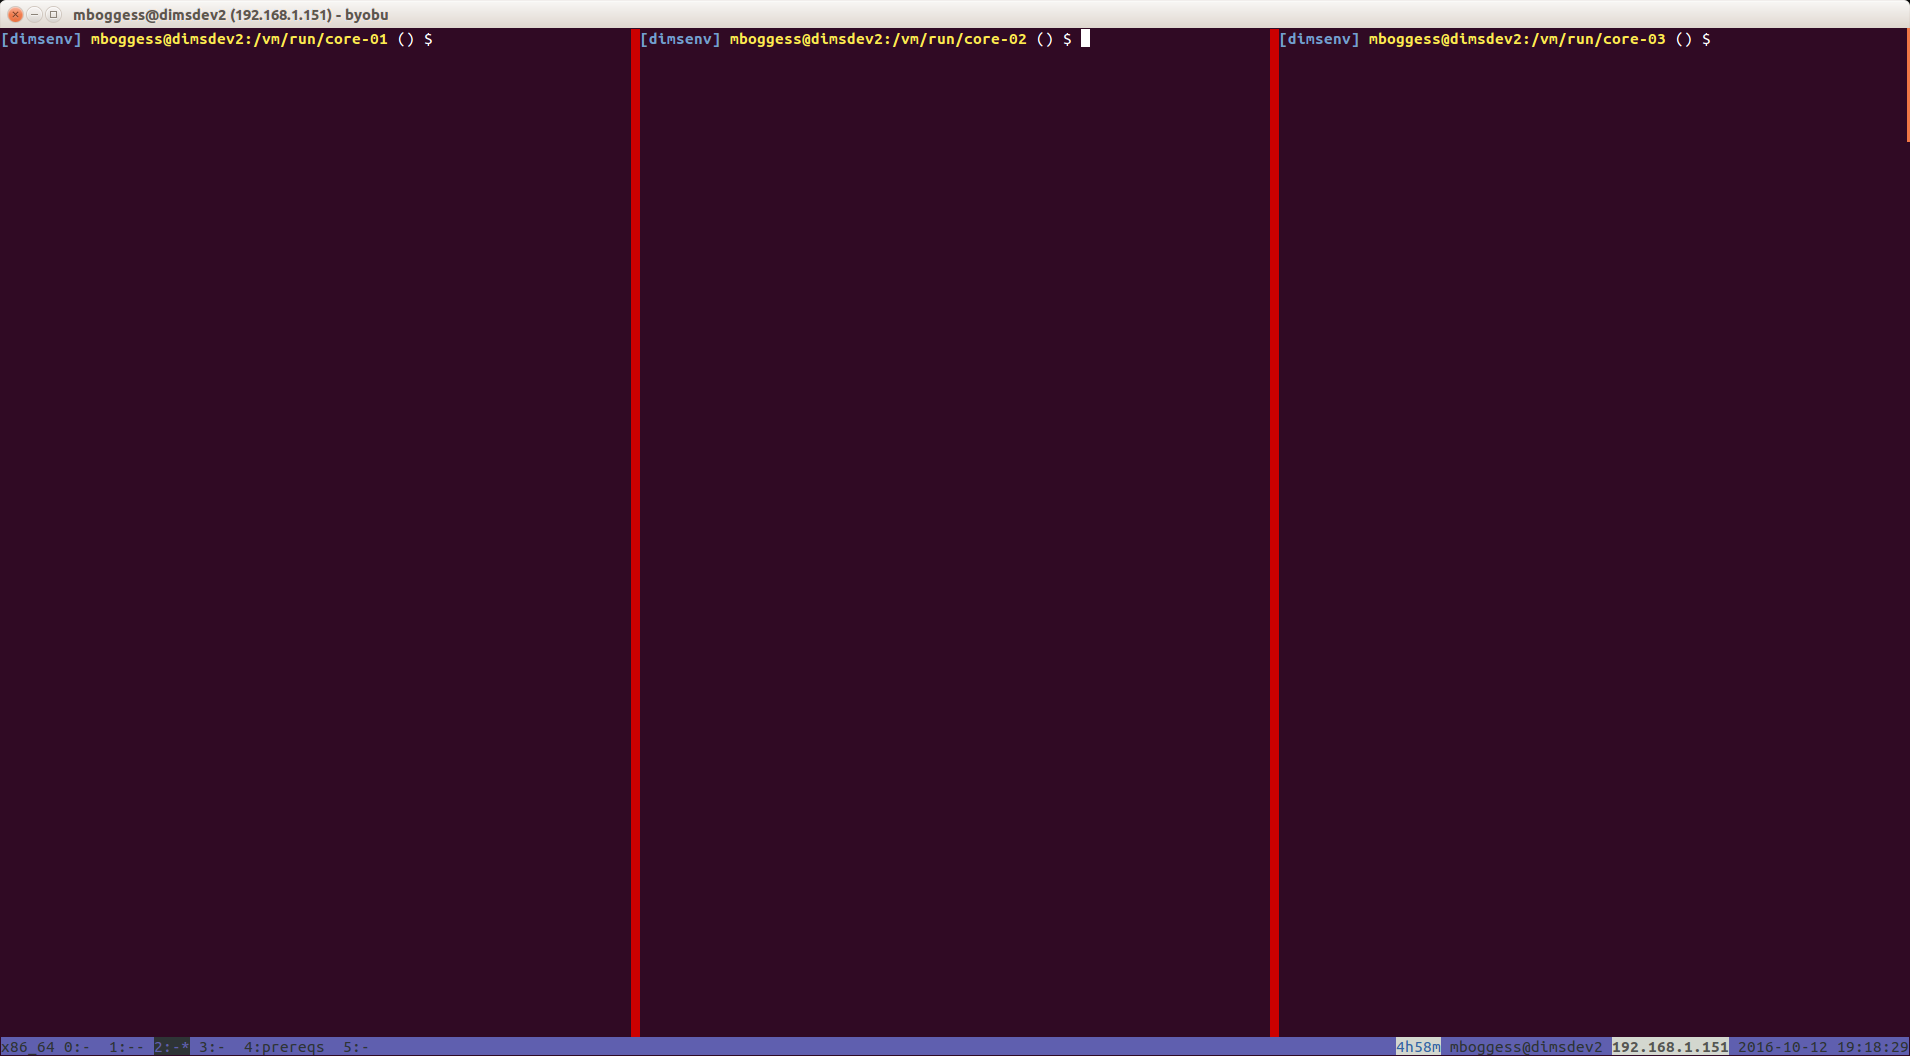
Byobu window with 3 splits for working in CoreOS VM run directories
Now, you can use the byobu’s “spray” functionality to send the same commands to all three splits. First, hit Alt-F9 to turn the spray functionality on. Then, we want to “boot” the machines and provision them, so we will run
make up && make provision. This wil runvagrant up, trigger some post-up configurations, and then use Ansible to provision the machines.At the end, once everything has provisioned, you should get output from tests that are run. The more successes, the better. The current test output looks like the following:
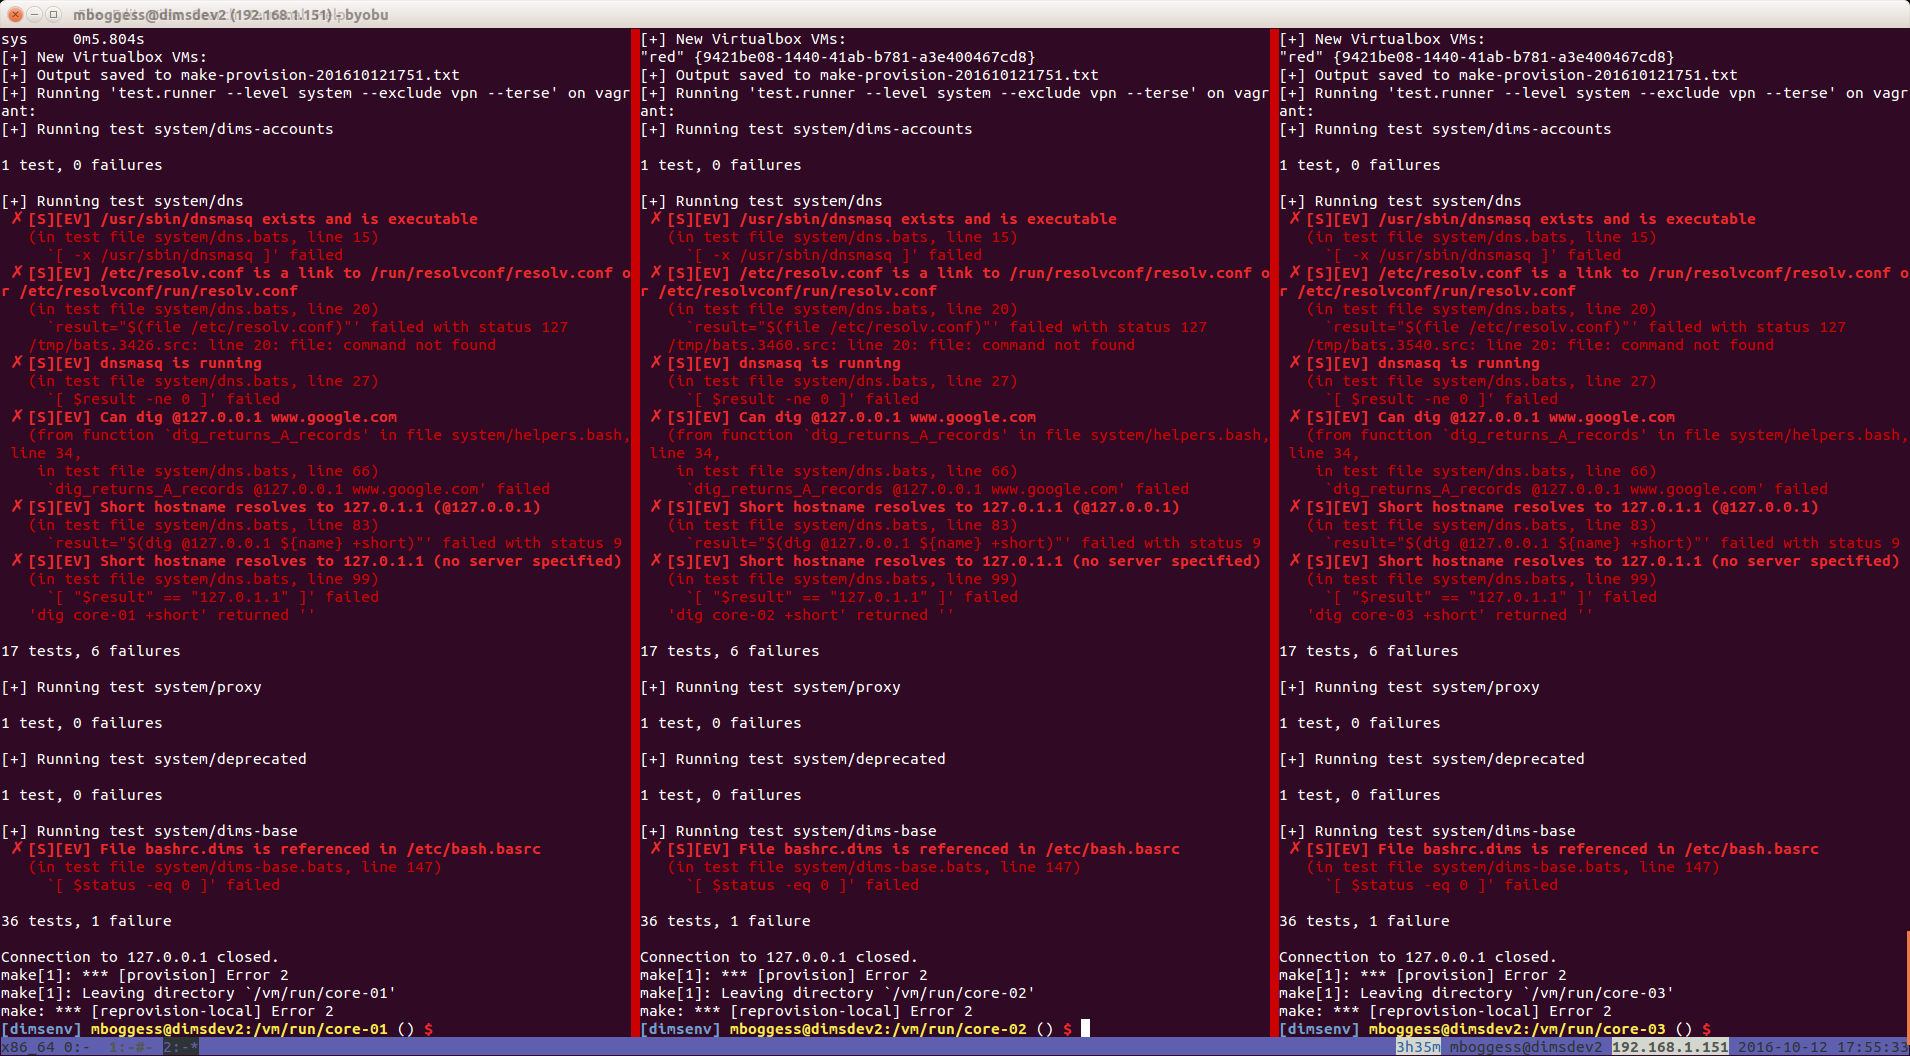
CoreOS VMs provisioned and test output
When the red, yellow, and blue16 artifacts have all been built, you can do the same thing to boot and provision those machines. Get a new byobu window, make three vertical splits, and change directories to the appropriate run directories (
/vm/run/red,/vm/run/yellow,/vm/run/blue16). You should have something that looks like the following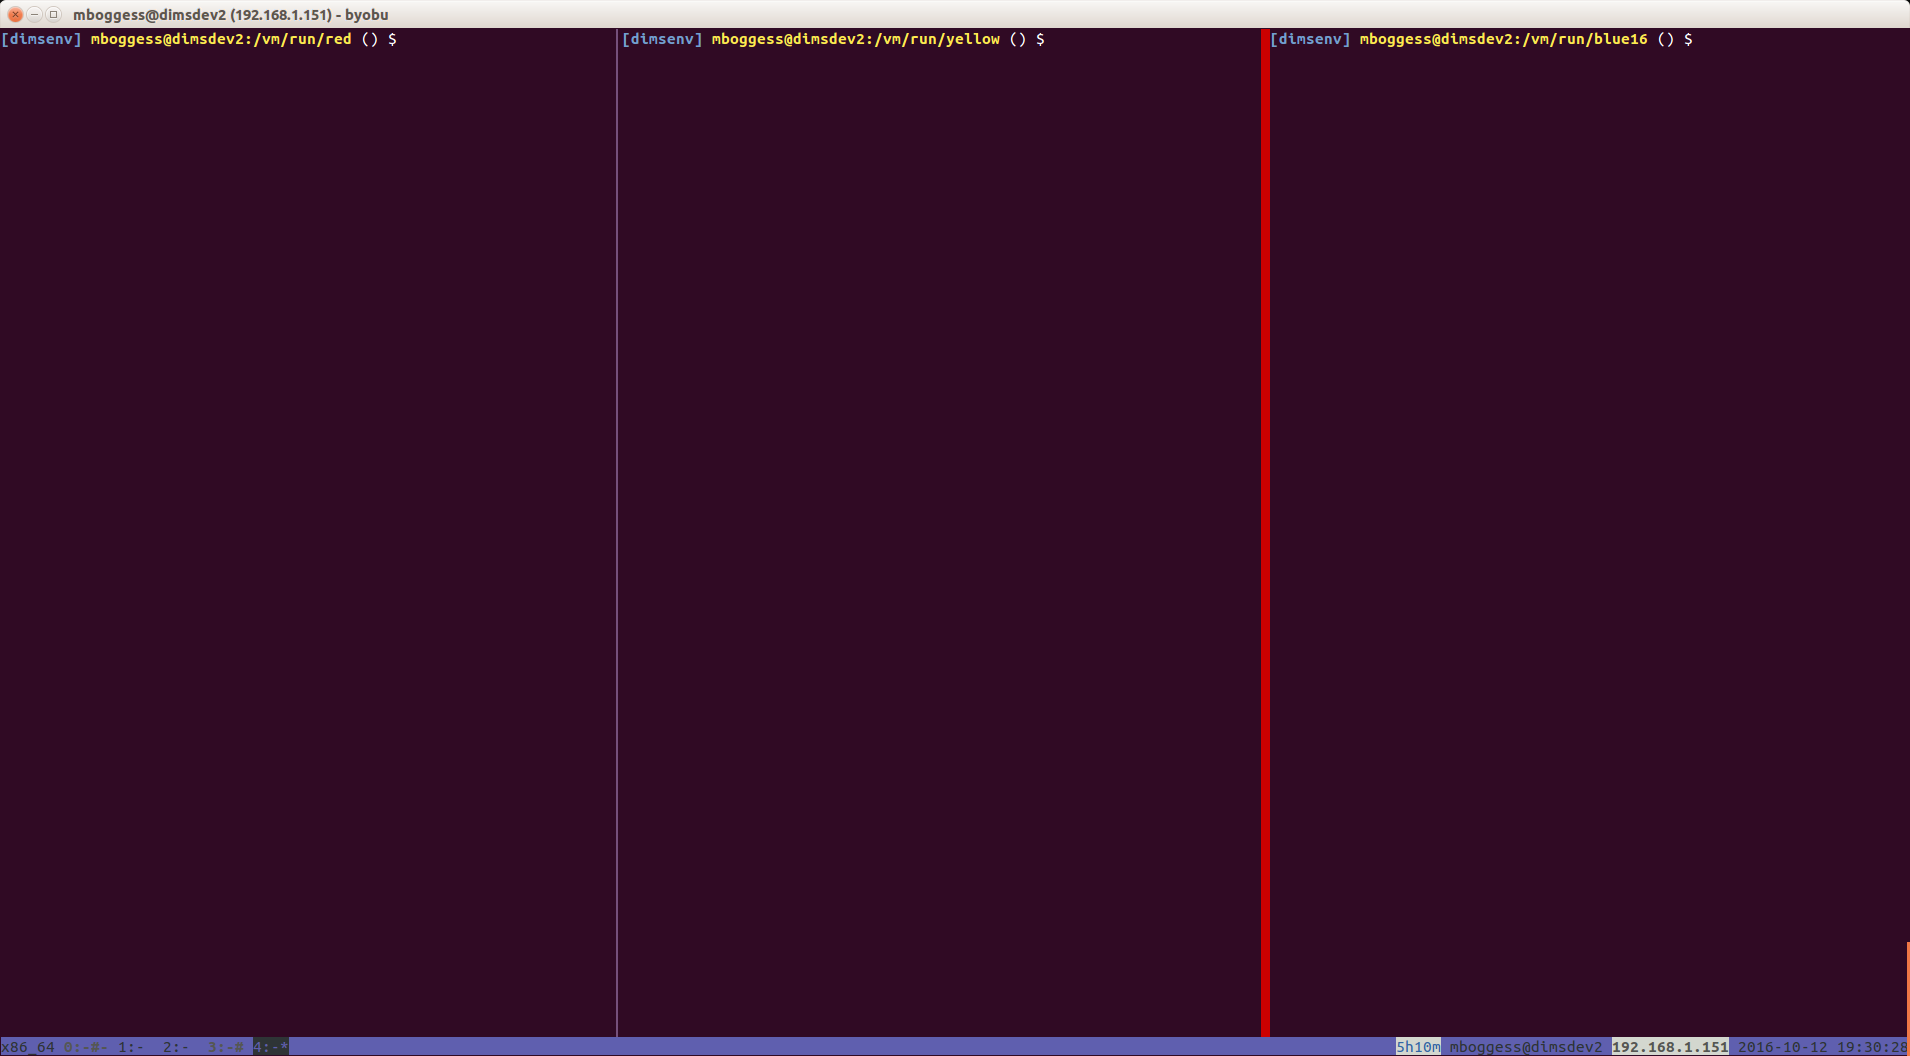
Byobu window with 3 splits for working in non-CoreOS VM run directories
Turn on the byobu spray functionality and run
make up && make provision.Again, at the end, you should get output from the tests that are run. The very end of the current test output look like the following:
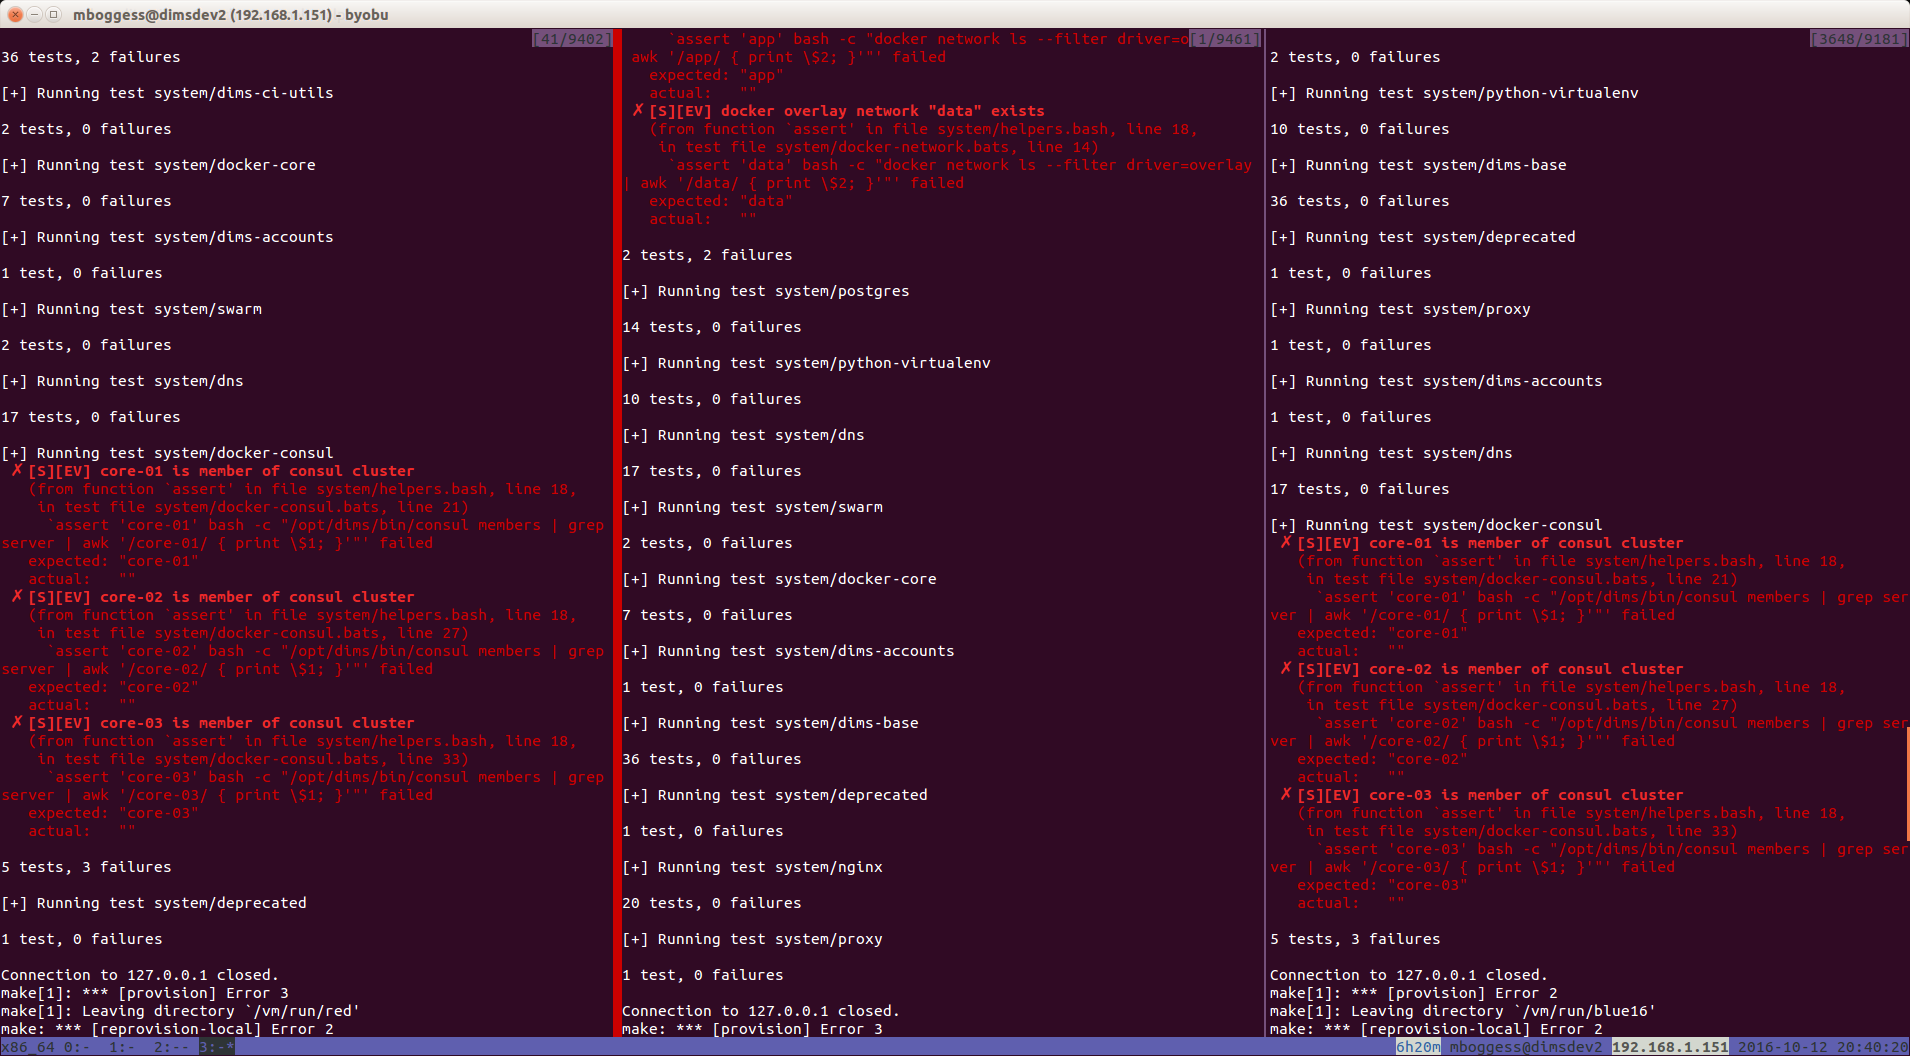
Non-CoreOS VMs provisioned and test output
5.4. Run Directory Helper Makefile Targets
Beyond the steps outlined in the section above, there are many other
make helpers in the VM run directory.
[dimsenv] mboggess@dimsdev2:/vm/run/red () $ make help
/vm/run/red
[Using Makefile.dims.global v1.7.1 rev ]
---------------------------------------------------------------------------
Usage: make [something]

Where "something" is one of the targets listed in the sections below.


----- Targets from Makefile -----

show - show all variables used with this Makefile
NOTE: all of the following are done with timing and with
      output saved to a file named 'make-DATESTRING.txt'

up - Do 'vagrant up --no-provision'
reboot - Do 'vagrant halt && vagrant up --no-provision'
halt - halt vagrant cluster
update-box - update the CoreOS Vagrant box file
provision - Time and record 'vagrant provision'
reprovision-remote - Update ansible-playbooks from remote (w/current checked out branch)
reprovision-local - Reprovision host via locally rsync-ed ansible-playbooks
sync-playbooks - Update ansible-playbooks by rsync from current checked out working directory
rebuild - use test.vagrant.factory from packer repo to do 'destroy' and 'build' in one step
destroy - Do 'vagrant destroy'
clean - Remove unecessary files
spotless - Remove all temporary files for this VM.
listvms - lists all configured virtual machines (using 'vboxmanage')
list - list all running VMs
vminfo - See some info about VMs
test - Run 'test.sh' with bash -x and redirect output to 'test.out'
       This is a helper that can be run from the /vagrant
       directory in the VM. Have it write output to a file
       that you follow with "tail -F" and you can observe
       results from the host
run-tests: Run test.runner for system level tests
                         This will be like at the end of running
                         the Ansible provisioner, but at will.
 @echo
----- Targets from /opt/dims/etc/Makefile.dims.global -----

help - Show this help information (usually the default rule)

dimsdefaults - show default variables included from Makefile.dims.global
print-SOMETHING - prints the value of variable "SOMETHING"
version - show the Git revision for this repo
envcheck - perform checks of requirements for DIMS development

---------------------------------------------------------------------------